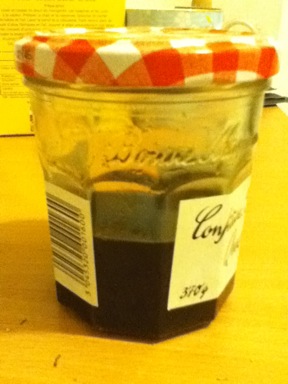
Nuoc mau: caramel sauce
Detailed instructions on how to make Vietnamese caramel sauce.

Recipe type: Sauce
Cuisine: Vietnamese
Preparation time: 20 mins
Cooking time: 20 mins
Total time: 40 mins
Serves: 1/3 cup
Nước màu is caramel, but not the caramel you put on your ice creams: it’s slightly burnt and has a bitter aftertaste, and counterbalances other Vietnamese ingredients such as nước mắm wonderfully (but sucks on its own). In terms of cooking ease, it means it’s less temperamental than Western caramel (where you stop at the exact moment the sugar has coalesced but not burnt yet): you have a little extra time to get it right.
(ingredients taken from Mai Pham’s Pleasures of the Vietnamese Table. Mostly blogging my own process and my adaptations to the recipe–which was terse and not overmuch concerned with safety)
- ½ cup sugar, preferably white refined sugar
- ⅓ cup water
- Boil the water and keep it handy. The goal is having boiling water on hand when cooking--my electric kettle came in handy here: I set aside a heatproof measuring glass for the moment I'd need the ⅓ cup, and kept hitting the button on the kettle to heat the water up again while watching the sugar burn.
- Select a cooking pan. It has to be heavy-bottomed, so that it conduces heat evenly; and it has to be deep so that whatever projections of sugar happen stay inside. Basically, pick the largest pan that still ensures there's a reasonable layer of sugar on the bottom. My enamelled cast-iron Dutch oven worked a treat for this, as it had a clear coating that enabled me to see where we were with the sugar.
- Suit up. And I am not kidding here. As said before, hot sugar is very very hot, so protect the exposed skin. Long-sleeved T-shirt; and I highly recommend putting two oven mitts on your hands while you swirl (if you take the Dutch oven option, you'll need the oven mitts simply to lift it up anyway).
- In aforementioned heavy-bottomed saucepan, heat up the ½ cup sugar (refined cane sugar, preferably), on medium-high heat. Watch it. The edges are going to start to brown; swirl it (do NOT stir with anything or you'll introduce impurities and cause the sugar to seize up. Just lift the pan and swirl). Next, bubbles will start forming over the entire surface. This is a nice time to hit the button on your electric kettle again, and to prepare ⅓ cup of that boiling water. Wait until the bubbles have taken over, and the mixture is the colour of rich dark toffee (dark brown but not black), then take the pan off the heat.
- Take a few steps back. Dump the boiling water into the pan, and withdraw really quickly. The mixture goes live at this point, hissing and projecting burning sugar everywhere (that's the bit where you have the most chance of getting burnt if not careful). You might have to dump the water in two stages: it's best to withdraw as soon as the first of the boiling water hits the pan (the H points out you can pour the water really slowly into the pan, and have less of a reaction; I'm sceptical, as my mixture always goes live when I put the water in).
- When the reaction has stopped, carefully stir in the water. You can put the pan back on the (low to medium) heat, and slowly stir it with a spoon for about ten minutes if you want to dissolve the pesky bits that have stuck to the bottom.
- Pour in a jar, and keep at room temperature away from the light--pretty much indefinitely, as it's sugar with water...